As part of a two-and-a-half week road trip to the Southwest, this year I attended the penultimate Moab Photography Symposium. The symposium itself (and the Terrific Trio workshop immediately before it) are worth at least one post by themselves, but I want to concentrate on the upshot, which is that I committed printer when I got home.
And in my usual fashion, I went pretty big. When I walked into Glazer’s Camera Supply in South Lake Union (just blocks from my old job at Amazon) looking for a printer, ink, paper samples, and advice, I was 95% sure I was picking between an Epson P800 and a Canon PRO-1000, with the initial edge going to the Epson because of its paper roll support (important for printing panoramas).
After 20 minutes or so of conversation with Dana (the reason I support my local camera shop and try to buy a minimum of 1/3 – 1/2 of my gear from them, in addition to anything I need significant advice about, is this kind of knowledgeable support), the benefits of the Canon were convincing me. In no specific order, they included: current deals on the printer plus about $400 in free paper, a $300 rebate, separate channels for photo black and matte black, higher build quality, hack to use bigger paper, and a previous lifetime’s worth of Canon loyalty. On the down side, there is no straight media path, the thickest media I can put into the Canon is about half the thickness of the Epson’s ability, and I need a hack to print a large pano.
Regardless, I wasn’t being steered to something I hadn’t considered, and the reviews on the Canon have been good, so I went for it. It came with five boxes (125 sheets) of 17×22 Canon paper, and I threw in a couple of sample backs of Moab and Canon 8×10 sheets. I screwed up by not getting a pile of 4×6 pages for initial testing. Getting the whole thing into the car alongside a cooler full of Costco meat (see previous posting on new pellet smoker) and the dog wasn’t trivial, but part of the Glazer’s service included a hand truck and Dana’s help lifting and pushing. I left the printer box in the car until Kiernan got home, and he helped me get it inside.
Next problem: this thing is NOT small. The basic printer footprint is about 18″x30″, but the 18″ expands to nearly three times that when the paper feed tray and paper catching tray are open. And it weighs 70 pounds, so it requires its own piece of furniture. Plus storage for paper boxes and archival boxes for prints. Without much hope, I visited Storables at U-Village when I went to the Apple Store. And they surprised me by having a technology that seemed to do the trick: their Industrial Post Steel Wire Shelving, which is an easily assembled, more attractive and flexible version of Gorilla Shelves. With each shelf rated for 300 pounds and each rack rated for 2000, all I needed to do was figure out my needs. I sketched a few ideas, measured a space in my office, and spent about a day throwing shit out and packing shit more efficiently to get the space I needed next to my desk.
The shelving went together as easily as described (perhaps more so) and I wrestled the printer box (which could easily hold at least one body, in my inexperienced estimation) downstairs into my office, lifted the printer out onto the top shelf (easier than it should have been — Canon ships the printer in a bag with handles which is designed with handles to lift the printer out), removed the 20+ bits of orange and yellow tape, plastic, foam, and so on which protected the printer during transit, installed the print head and so many ink cartridges I lost track (apparently they are individually keyed so that you can’t put them in the wrong place, but I never tried because the labeling was so clear so I can’t confirm that), and ran the setup program. Which, contrary to my previous experience with Canon software, was reasonably clear and did a good job, even avoiding me having to enter my wifi password via a four direction keypad on the printer. It takes quite a while for the printer to set itself up, and the process is rather noisy as the print head moves around, the vacuum feed system blows air here and there, and the ink cartridges are milked to fill in the lines to the head. There’s also apparently some kind of ink agitation system built in (I think Dana mentioned ball bearings in the cartridges) that rattles a bit. The whole process of unpacking and setup probably took a couple of hours, but I was in no hurry and wanted to get it right.
Upon realizing that the bulk of the paper I had was 17×22, and the smallest was 8×10, I stopped at Office Depot and bought a box of 100 sheets of 4×6 HP semi-gloss photo paper. I figured that if there were going to be big problems, starting small was a good idea.
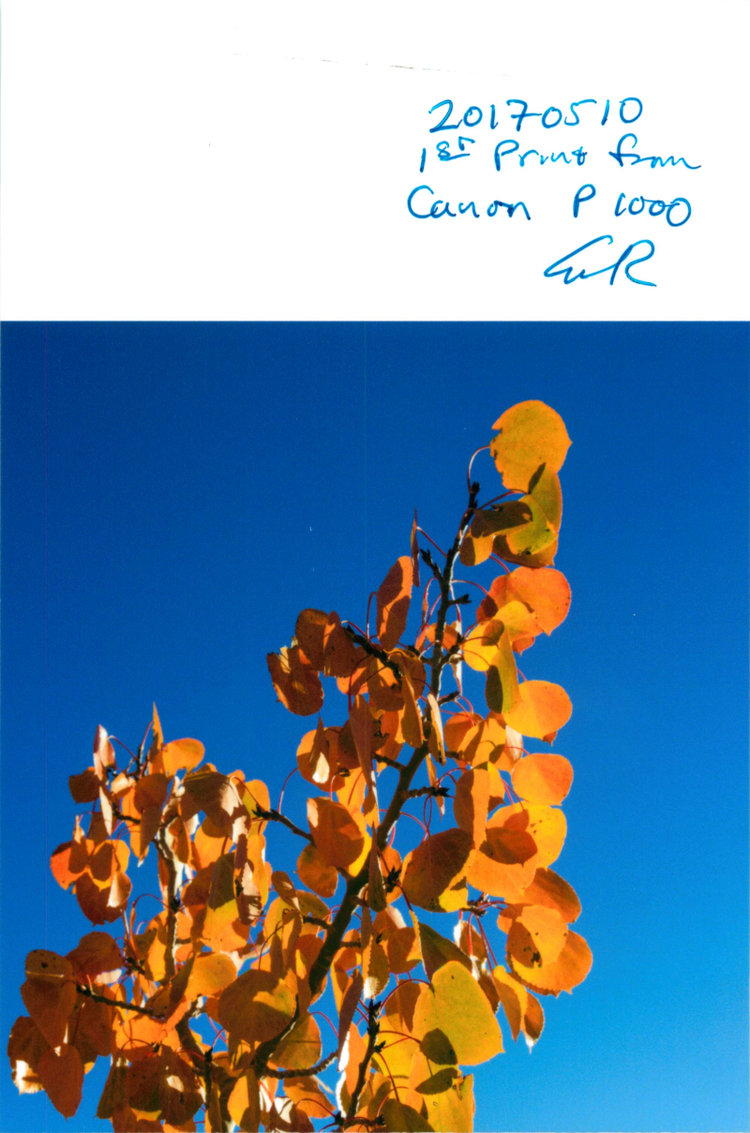
Remarkably, the process is pretty straightforward at my current level of understanding. It’s annoying to have to print via the “Plug-in Extras” menu, and I wish Canon’s Print Studio Plus did a better job of understanding borders, but it’s OK. I’m unclear as yet whether the printer’s idea of what kind of paper overrules PSPs or vice versa, and I’m pretty sure I’m going to try out an additional printing manager (possibly PrinTao, possibly something else) at least to implement that pano hack and probably to manage paper types. B&W prints on the HP paper are a bit warm, and I need to work on that, but I haven’t even gotten a custom profile for this printer yet. It may also be the paper, not the ink. Things to investigate, things to learn. Things to become (or resist becoming) obsessed about :-).
It will be an adventure. I shall remain steadfast in memory of Mark Hamburg’s immortal statement (Mark was the architect on Photoshop when I was at Adobe):
“Color Is Hard”
(Originally posted to my personal blog @ Mischievous Ramblings II)